Growing potatoes in your home, small or even portable garden can be very rewarding, but also very frustrating. In this article, we will share some tips and tricks to make growing potatoes not only easy and fun, but rewarding and successful.
This is not the only way to grow potatoes. There are so many varieties, and so many climates, we could not possible cover all the nuances of every situation. Hopefully we will give you the basics, and you can experiment with where you are.
VARIETIES
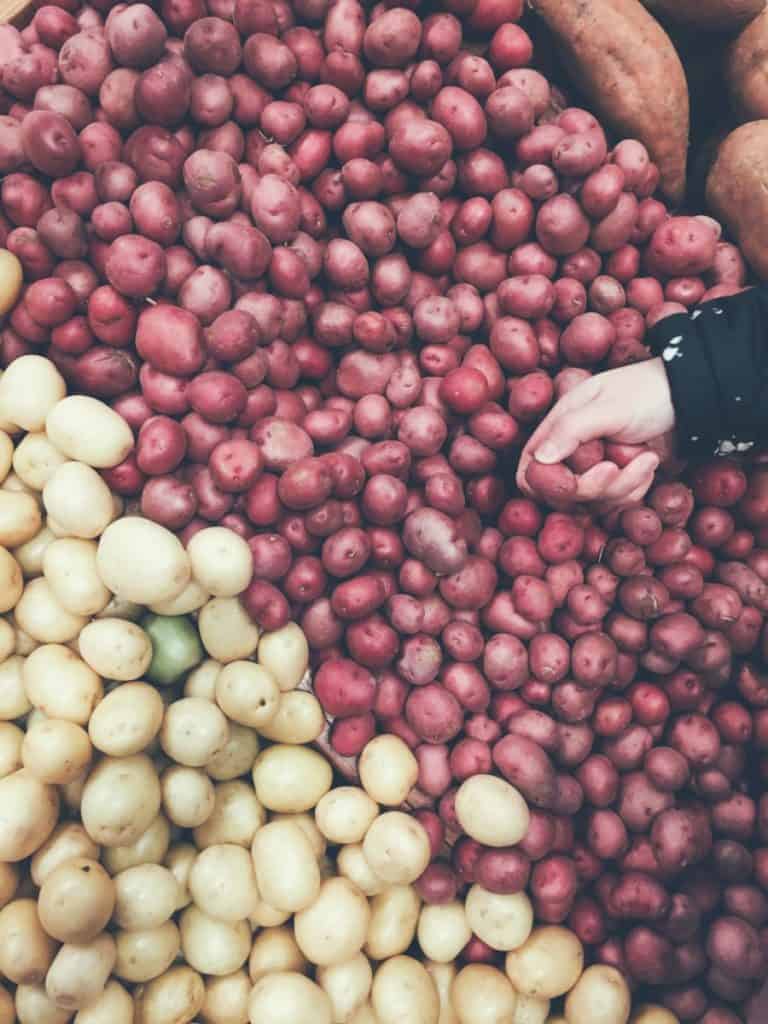
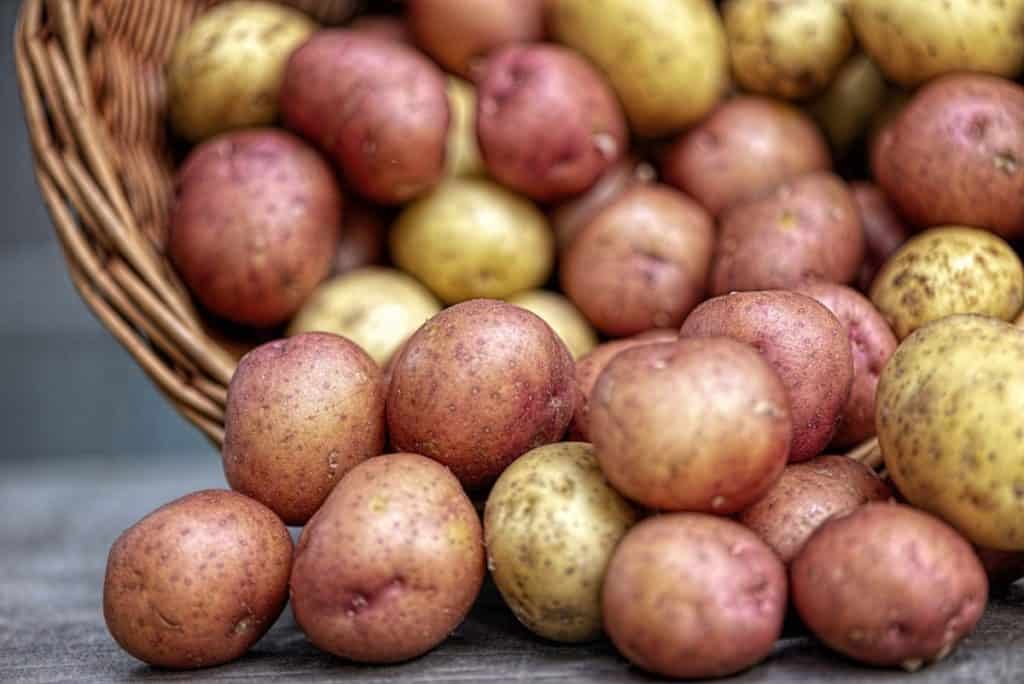
There are many varieties of potatoes to choose from. For the beginner Gardner, I suggest some form of Red potato. Many gardeners claim they are easier to grow, produce a higher yield, and have a great flavor. As you become more comfortable growing potatoes, you can experiment with other varieties.

WHERE TO GET SEED POTATOES:
Most large chain stores like, Wal-Mart, Lowes, Home Depot, Target and etc have a gardening section. By mid April in the US, the selection might be getting slim.
You can also visit your local farmers market. What you are looking for is potatoes that have not been sprayed with sprout inhibitor. If you try to grow potatoes from ones that have been sprayed with a sprout inhibitor, you need wash them thoroughly, and put them in a dry cool place for a couple of weeks and see if they sprout. Its just best to get potatoes that are meant for seed potatoes, or at least have not been treated to not sprout.
Also, see the BONUS section on preparing your own seed potatoes from your own harvest.
WHEN TO PLANT
Plant your potatoes within 2 weeks of the last frost of the season in your area. Before or after. The further North you are, the longer you will have to wait. In the Sothern US it may be possible to plant as early as January.
THREE WAYS TO GROW POTATOES:
WHERE TO PLANT
When choosing one of the ways to plant, make sure your plants can get 8-10 hours for sun per day. 6 hours of sun would be the bare minimum, and will reduce production.

REGULAR GARDEN
Probably the most common way people grow potatoes in their home gardens, is the old fashioned way… right in the dirt in their garden plot. The advantages include the fact that they dirt and space is already there. And for larger operations, its easier to work with larger pieces of equipment.
As a home gardener, if you plan to put them in the ground in your garden plot, here are a few tips.
1. Break up the soil to a depth of 8 to 10 inches. Either with a shovel, or better yet, a rotor tiller. Potatoes like loose soil. You may want to work in some sand or peat, depending on your soil. Its also a good place to spread your old coffee grounds.
2. Plant potatoes 18 inches to 2 feet apart. Most people plant them in rows that are 3 feet apart, and the plants are 2 feet apart in the row. You can squeeze more in, but it starts getting hard to get in and around for weeding and etc. If you just don’t have tons of room, put them 18 inches apart and the rows 18 inches apart. You will just be a bit challenged to keep them weed free… but you can do it.
3. Using a spade or shovel, dig the loose dirt out of a hole down to the hard earth. (about 8-10 inches) and put your seed potato in the bottom. Ignore the urge to follow the guru’s advice to only plant 4 inches deep, and mound later. Also be careful that the chits (sprouts) are not broken, and preferably pointing up… or at least not down. Each seed potato should have 2-3 chits… remove the rest.

4. Put some fertilizer (see section on nutrients) right on the potato and around. Cover with soil you dug out of the hole until the ground is level.
5. Water regularly until just before harvesting. Let the ground dry out the first couple of inches before watering again. Too much water will rot your potatoes… and you don’t want that!
No other special care is needed. You may want to remove the flowers when they appear to support tuber growth… but this is not required.
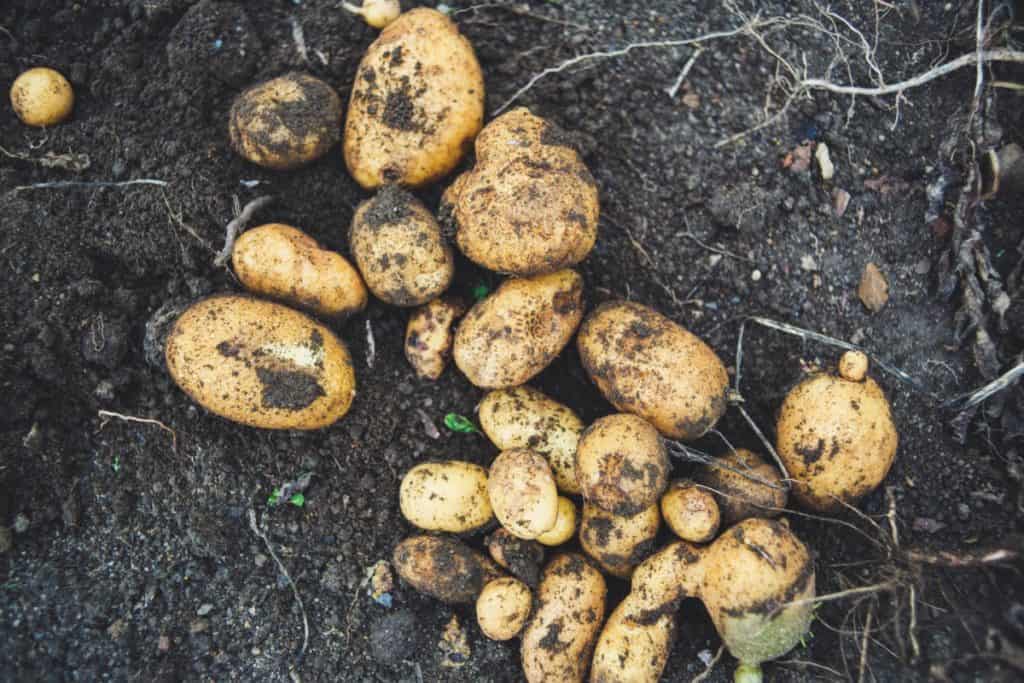
6.. Depending on your variety, and climate, you should be harvesting potatoes in about 100 days. Give or take 20. When you see the folage above ground dying off, you know you are ready to harvest.
This video take you through all the stages of growing potatoes in the garden in rows.
RAISED BEDS
The advantages of using raised beds to grow potatoes include more control of the soil composition, growing plants closer together for better yield per sq foot, ease of maintenance (not so far down to tend), and smaller creatures like rabbits have a harder time getting to your plants, and etc..
You still want to follow the planting instructions listed above with the regular garden. Putting the seed potatoes 8-10 inches down. Fertilizing before covering, and etc.
However, you can plant them closer together. Possibly as close as 1 foot apart, as in the Square Foot Gardening method.
POTS, or PORTABLE

While this method does require you to purchase pots or containers and fill them with the right soil mix, many gardeners believe this way of growing potatoes produces a lager yield per plant.
1. 2 potatoes per 5 gallon container/bucket. 4 potatoes per 10 gallon container/bucket. You can use any shape. Round seems to be most popular. But the rectangular totes work too.
I recommend no larger than about 10 gallons for the ease of moving or handling… so the following is for 10 gallons.
Note: make sure the container has adequate drain holes in the bottom, or in the sides right at the bottom.
2. Fill the container 1/3rd of the way. Place 2 of your seed potatoes in there, keeping them a good distance from each other, but not up against the side.
3. Place your nutrients and/or fertilizer right on and around the potatoes. (see NUTRIENTS section)
4. Add another third of soil. and repeat #2 and #3 placing the seed potatoes opposite the ones on the bottom layer.
5. Fill the container the rest of the way to the top. leaving about 1 inch from the top to contain water when watering.
SOIL PREPARATION

Potatoes like nutrient rich soil to grow in. Each year you need to amend the soil prior to planting your potatoes. Depending on your soil type, you may be adding sand, compost, peat moss, manures, and etc.. These should be thoroughly mixed in via rotor tiller if possible.
If you have the space, doing your own composting is an awesome option.
Your goal is a rich loamy soil. You will still include specific NUTRIENS when planting.
NUTRIENTS
Potatoes need a growing environment that is acidic. 5-6 is preferable, but in no case over 7.
They also like rich nutrients. Which is why some people fail when growing potatoes just in straw. If the nutrients aren’t provided, you will get a poor crop.
Here are some suggestions to include at planting time. This is in addition to preparing the soil as explained in the SOIL PREPARATION section above
Blood Meal and Bone. Trifecta. Sulfer Potassium
Read the instructions on the packaging. Trifecta is about a quarter cup per seed potato, Sulfer is about a quarter teaspoon, etc.
WATERING
Potatoes need to grow in moist soil, but the water logged soil. In raised beds, or containers, the soil should be allowed to drain. In the garden, the water will naturally wick away.

Poke your index finger all the way to the knuckle in the soil adjacent to the plant. If it comes out moist, you do not need to water. If it comes out dry… time to give it a good soaking.
In a container or pot, water until you see water coming out the bottom drain holes. Then you will know the soil is adequately soaked.
Click here for BONUS content: Harvesting, Storing, Saving Your Own Seed Potatoes